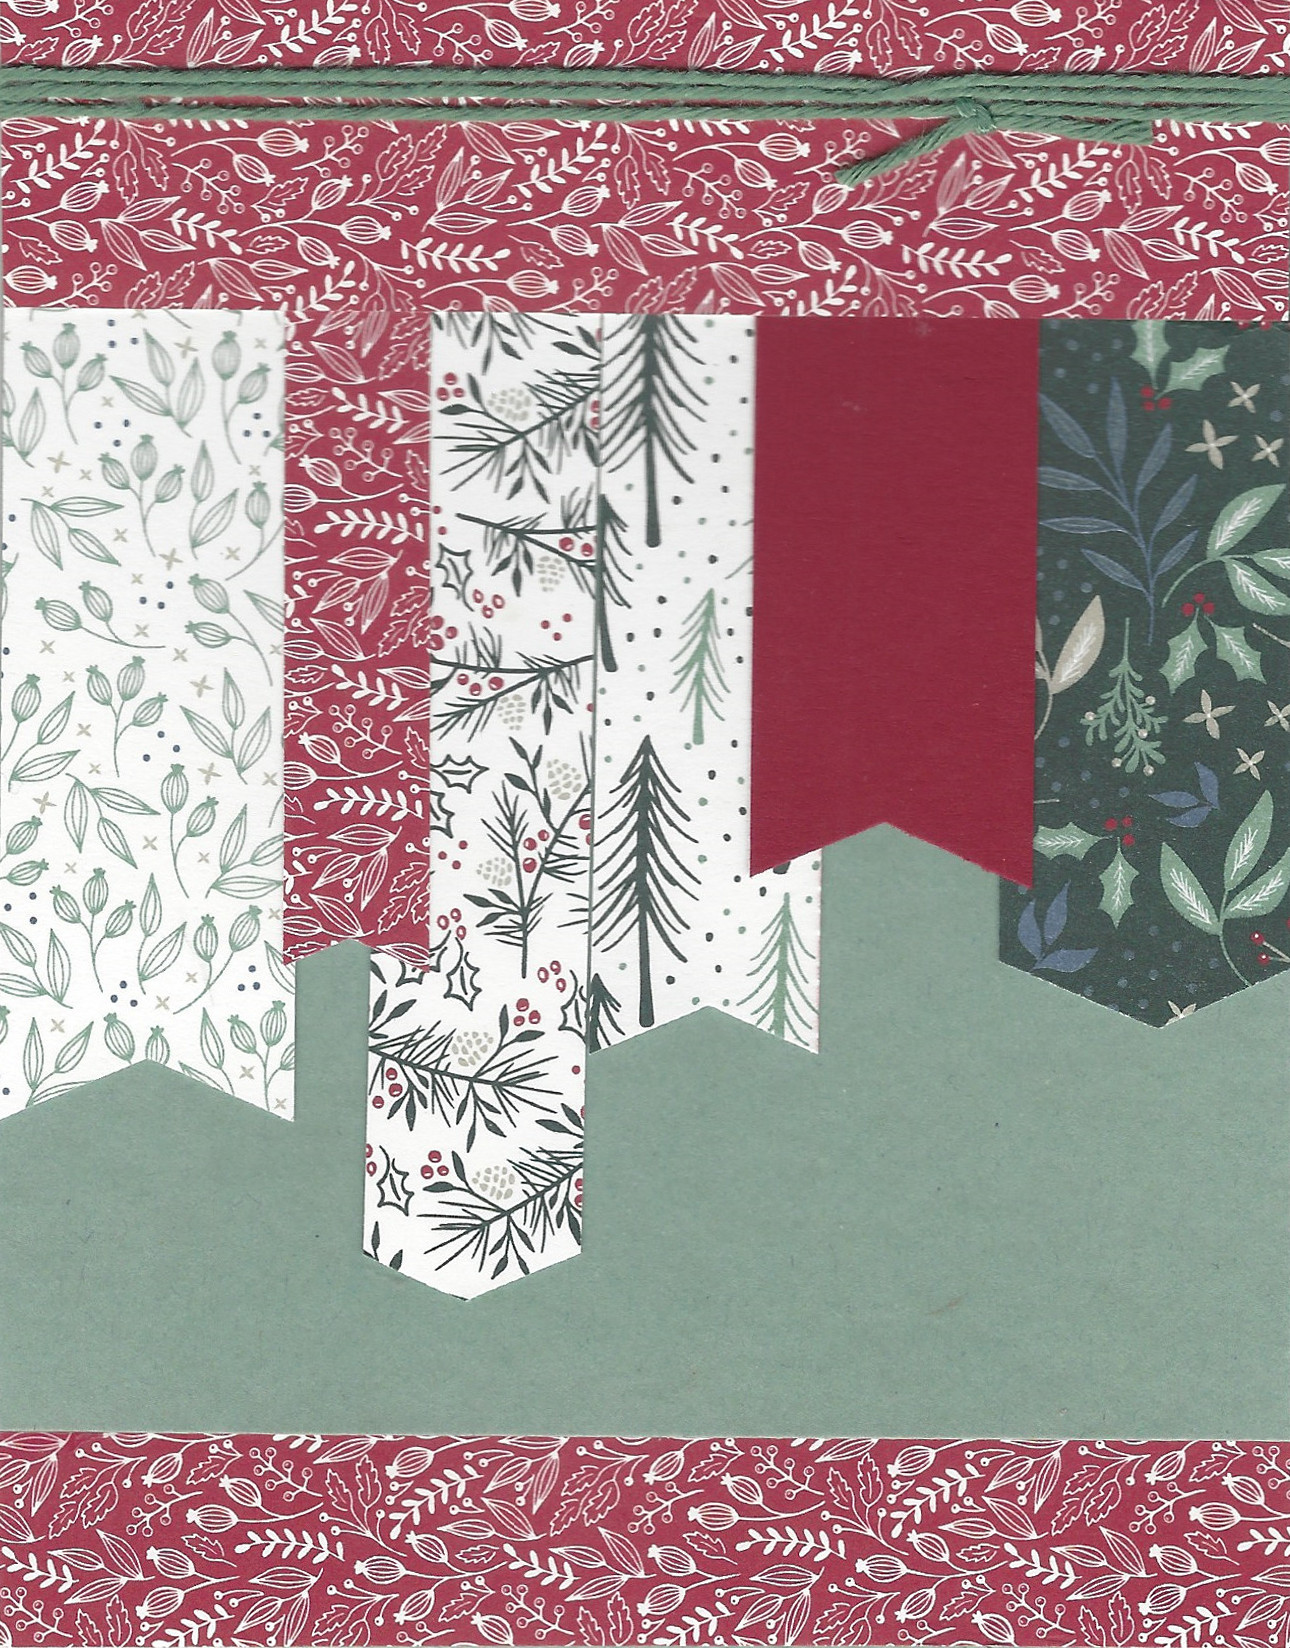
For the past couple of years, I have made Christmas cards for my father-in-law to send out. This year, I made 25 for him. This one is this year's card:

All items used to make the cards are from Stampin' Up! - the paper, the ink and the stamps.
For the past couple of years, I have made Christmas cards for my father-in-law to send out. This year, I made 25 for him. This one is this year's card:
All items used to make the cards are from Stampin' Up! - the paper, the ink and the stamps.
I've made quite a few greeting cards using the Eden's Garden suite by Stampin' Up! Here are some of them:


Long ago, when we lived in Greenville, NC, we frequented a quilt shop named Cotton Fields, which is located in Washington, NC. My wife began a class to make something fabric-related, although I don't remember what it was. This was once a week for several weeks. The group enjoyed what they were doing and wanted to get together after the class was over, so they did. It started out with small projects that could be completed in the hour or two during the meeting. We took turns teaching and learning. That is when I joined in.
Eventually, the group came up with the name for ourselves: QWACs, or Quilting Women Acting Crazy, and our mascot was a little yellow rubber duckie. This group has been going on for over 10 years, I guess. Even though we have moved far away (a three-hour drive), we go up every December for a potluck and to get reacquainted with the old members and to meet the new recruits.
Each year, they play a game called "Dirty Santa" where everyone brings a present and they are placed in the middle of the table. Everyone draws a number to indicate the order in which they will participate. The first player selects a gift and keeps it. The next player can either get a gift from the center of the table or steal it from the previous player. The third player has the choice of choosing a gift from the table or steal it from a previous player. The game continues until the gifts are gone and everyone has a gift. Then, the game goes back to player one who can exchange her gift with anyone at the table. Usually, everyone goes away happy.
Well, we don't participate in the game, so we always make a card and an ornament for everyone. Katie is making folded stars out of a sparkly fabric this year, and this is one of the ten cards I've made (5 of them had snowflakes instead of stars):

(The dies, stamps and adhesive gems are from Stampin! Up.)
This card makes for a beautiful show! It takes a little bit of effort, but the result is amazing.
I started by cutting the dark green paper to measure 4 1/4" by 11", or the length of the 8 1/2" by 11" sheet of card stock. I scored and folded the card stock in half. Then, I scored from one end at 4 1/4". I glued between the score lines and adhered the front of the card to the back. The scored area will be on the left facing up.
Next, I punched out 1 1/4" squares. Cut two each of three coordinating papers. Cut one square at 2 1/2" out of white card stock. Adhere four of the squares using two designs on the white card stock, alternating the patterns as seen in the picture.
Cut a dark green panel at 3 1/2" square, and adhere the four-square on point. Take the two remaining design papers and cut them diagonally. Place them as shown in the picture to make a sort of a pinwheel. The dark green is left as is.
Cut a white panel at 3 3/4" square to make a frame, and adhere the previously dark green panel on it. Adhere the whole design onto the dark green card base.
The last thing I did was to stamp the sentiment and cut it out with a scalloped circle punch. I adhered that to the center, which covered up any mistakes with the paper meeting in the center! I also added the ribbon onto the left side.

I'm sharing this with:

This card is larger than I usually make. It is 5" by 7". I made one this large to accommodate the quilt "patch". I didn't have a one-inch square punch, so i used a 1 1/4" punch that I do have, which made the design larger than I desired. So, I rolled with it. Now, I have to see if I have an envelope somewhere!
The design is called a Disappearing Nine-Patch. I started with 9 equal squares and adhered them to a white piece of card stock measuring 3 3/4". I cut the design in half and the resulting two pieces in half. I arranged the pieces into a pleasing design and adhered the pieces onto another 3 3/4" white card stock. Then, I created two frames, one at 4" and the other at 4 1/4", and stacked them. I adhered the stack to the large card base and stamped the sentiment at the top.

I'm sharing this with:

This card is similar to the ones I made for my father-in-law this year. This one is different, because the stamp that I used at the bottom didn't turn out well, so I cut it off and placed another piece of Stampin' Up! card stock in its place.
I'm sharing this with:

To quilters, this block is called the Disappearing 9-Patch. I have altered mine slightly to fit to the size of this A2 card by slicing off a bit from each side. To start, there must be 9 1-inch squares. Those are adhered to a 3-inch square of white card stock. Then, that square is cut into 4 equal squares of 1 1/2" each. Those are turned in such a way to create the design and adhered to another 3" square. That was adhered to a green square and then a red square as frames. And, all of that was adhered to the green card base. All of the papers are from Stampin' Up!. The sentiment was stamped at the bottom to complete the card.

Inspired By IB197 Color Challenge
I was inspired by the greens and reds (the flower arrangement), and the taupes (the table).

***Update*** I got honorable mention in this challenge. Here's what the Inspired by... team wrote:
This card involved using scraps of Stampin' Up! paper from making other cards. I began by using an embossing folder to make the circle-filled background.

I'm sharing this with:
I was inspired by the different colors of green, the brown of the table and the red, and the sketch.


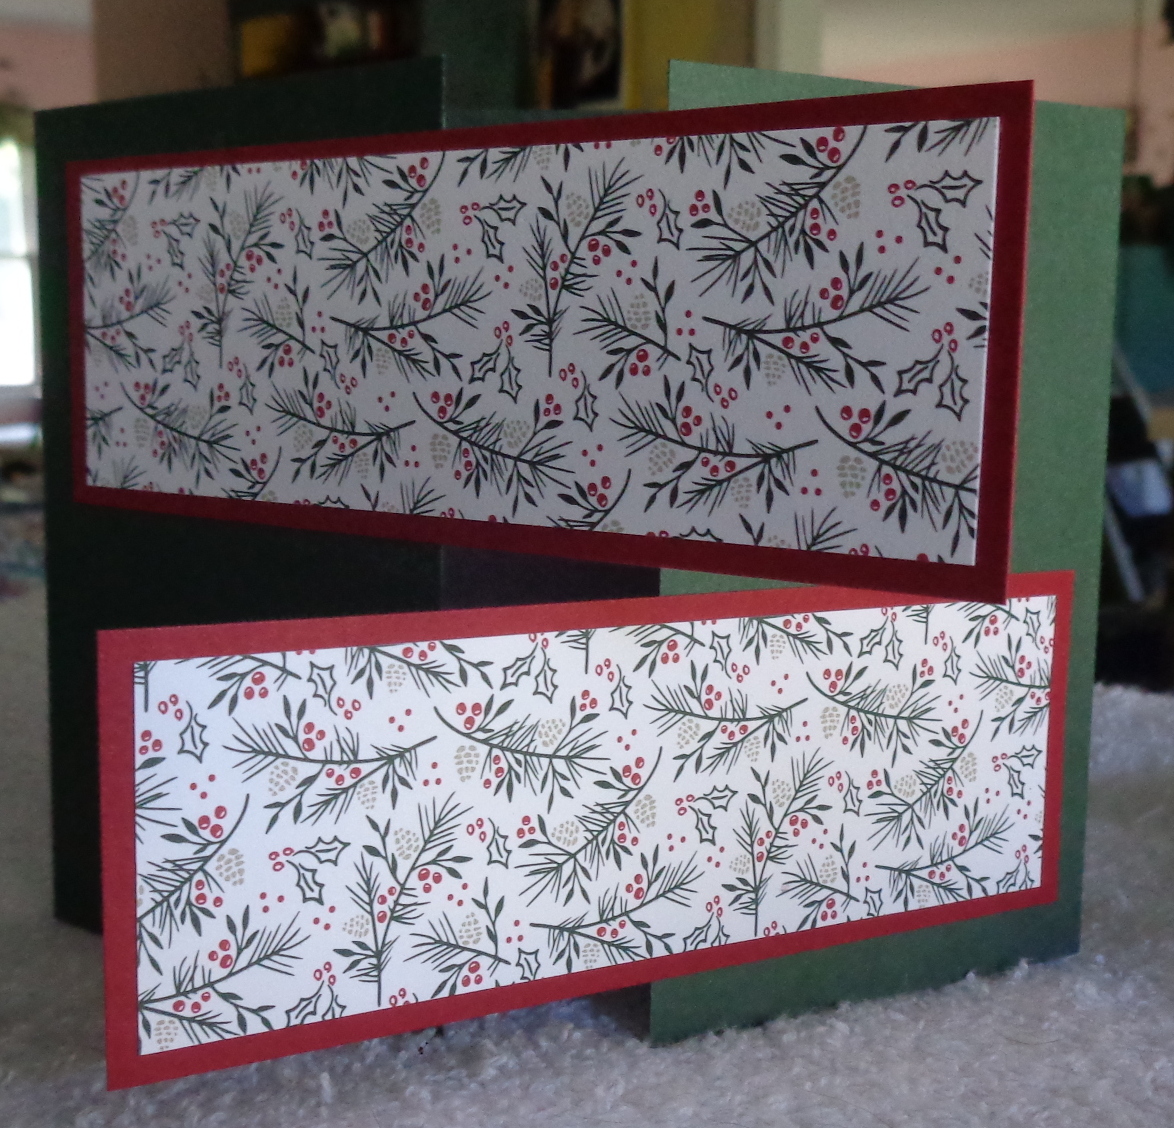
This fun-fold card is a variation on the gate fold. I used Stampin' Up! papers for this card.

I'm sharing this with:
Simon Says Stamp: https://fresh.inlinkz.com/party/ad630c609bf9482fbe06b4c1424b41c8
This fold requires two flaps where one folds from the left, and the other folds from the right. The sentiment is inside on a white panel which also allows for a personal message.
All of the paper is Stampin' Up!.

I'm sharing this with:
Simon Says Stamp: https://fresh.inlinkz.com/party/ad630c609bf9482fbe06b4c1424b41c8
This is yet another fun-fold card. I just love trying out different folds! Essentially, the card folds backwards, but there is a flap that comes around to the front, and the sentiment is attached there. The inner flap is decorated with colorful paper. The inside has a white panel where I can write a long personal message.

Here is another card that is similar:

A papers are Stampin' Up!.
I'm sharing this card with:
Simon Says Stamp: https://fresh.inlinkz.com/party/ad630c609bf9482fbe06b4c1424b41c8
Here is another fun-fold card. It is a double-Z fold, the first being the large part of the card, and the second being the band that goes across it. All paper is Stampin' Up!.

I'm sharing this with:
Simon Says Stamp: https://fresh.inlinkz.com/party/ad630c609bf9482fbe06b4c1424b41c8
This is another fun-fold card. The belly band holds it all together.The front piece folds back on itself, and the back piece folds over the front. The inside is where the personal message will go.


The papers are by Stampin' Up!.
I'm sharing this with:
Simon Says Stamp: https://fresh.inlinkz.com/party/ad630c609bf9482fbe06b4c1424b41c8
I don't know what this card is called, but describing it, I would say that it's a tower card with 4 appendages. It mails flat in an A2 envelope, but when it's removed from the envelope and "fluffed", it will stand on its own.


I've used all Stampin' Up Supplies, except for the sentiment, to make this card.
I'm sharing this with:
The Alphabet Challenge Blog: https://alphabetchallengeblog.blogspot.com/
This is a never-ending card. It has 4 panels to show once you get the hang of it. I learned to make this from Julie Davison, a Stampin' Up Demonstrator. She had the directions on her blog, as well as a video showing the mechanics of it. It's a fun interactive card, and this is how it goes:
Opening the envelope, this is what you see:


I used all Stampin' Up! supplies for this card.
I'm sharing this card with:
The Alphabet Challenge Blog: https://alphabetchallengeblog.blogspot.com/

I'm sharing this with:
Just Us Girls Challenge #579 - Trend Week

Ch#92 Anything Goes (option Kites)

I'm sharing this with:

I'm sharing this with:


I'm sharing this with:
Simon Says Stamp Monday Challenge


I'm sharing this with:
Just Us Girls Challenge #570 - Word Week


