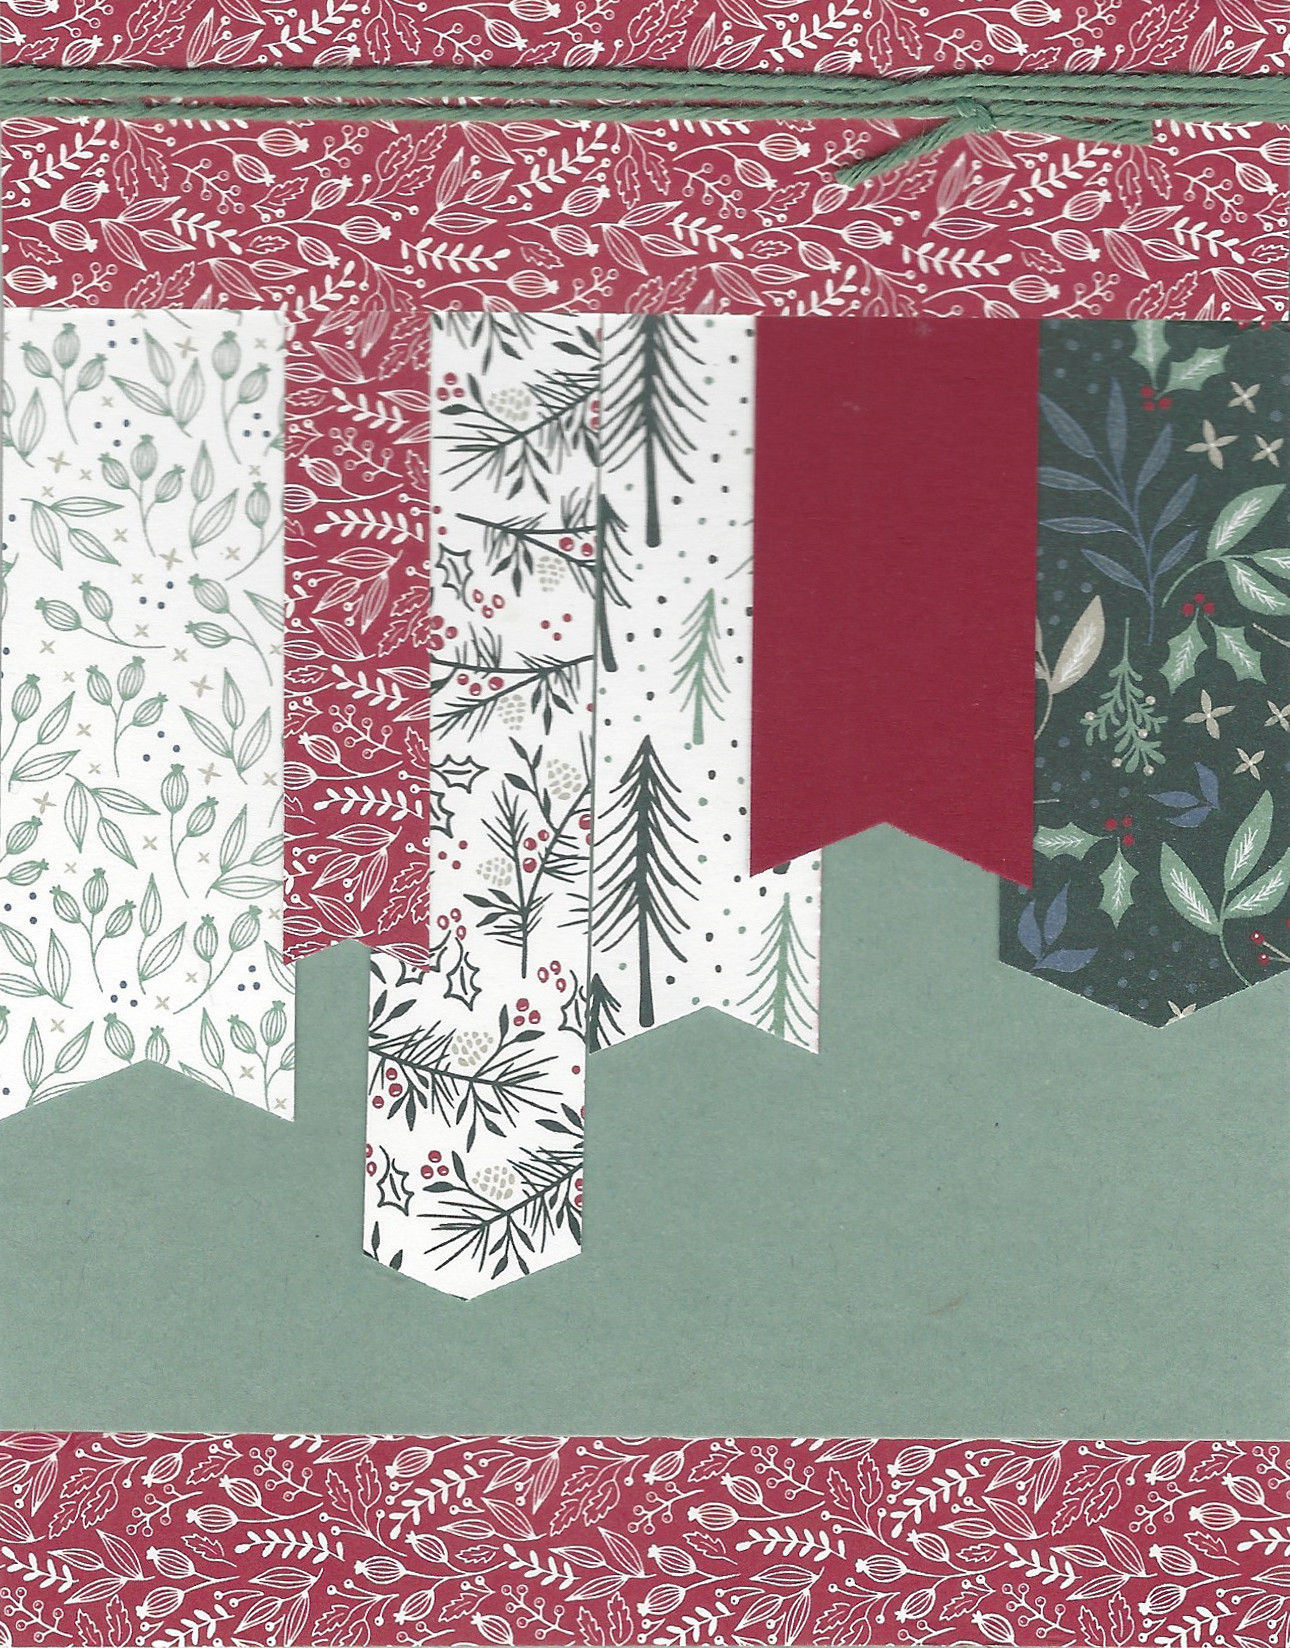
Friday, November 26, 2021

Let it Snow

This card makes for a beautiful show! It takes a little bit of effort, but the result is amazing.

I started by cutting the dark green paper to measure 4 1/4" by 11", or the length of the 8 1/2" by 11" sheet of card stock. I scored and folded the card stock in half. Then, I scored from one end at 4 1/4". I glued between the score lines and adhered the front of the card to the back. The scored area will be on the left facing up.

Next, I punched out 1 1/4" squares. Cut two each of three coordinating papers. Cut one square at 2 1/2" out of white card stock. Adhere four of the squares using two designs on the white card stock, alternating the patterns as seen in the picture. 

Cut a dark green panel at 3 1/2" square, and adhere the four-square on point. Take the two remaining design papers and cut them diagonally. Place them as shown in the picture to make a sort of a pinwheel. The dark green is left as is.

Cut a white panel at 3 3/4" square to make a frame, and adhere the previously dark green panel on it. Adhere the whole design onto the dark green card base.

The last thing I did was to stamp the sentiment and cut it out with a scalloped circle punch. I adhered that to the center, which covered up any mistakes with the paper meeting in the center! I also added the ribbon onto the left side.


Julie Davison, Stampin' Up! demonstrator, helped me with this design, and I couldn't have done it without her expertise!

I'm sharing this with:

Challenge #419 - Any Occasion 


Season's Greetings II

This card was fun to make. I started with a white A2-sized card base and adhered a strip of designer paper behind where the window will go. Then, I took both green panels and adhered a strip of red to what will be the inside against the designer paper panel. After that, I added double-sided foam tape to the edges that will be closest to the designer paper to give it some lift. I used glue on the opposite edges. The effect creates a bit of a shadow to give it some dimension. Next, I stamped the sentiment on a white panel and adhered it to the front of the card.

The paper is from Stampin' Up!.

I'm sharing this with:

Challenge #419 - Any Occasion 


Season's Greetings

This card is larger than I usually make. It is 5" by 7". I made one this large to accommodate the quilt "patch". I didn't have a one-inch square punch, so i used a 1 1/4" punch that I do have, which made the design larger than I desired. So, I rolled with it. Now, I have to see if I have an envelope somewhere!

The design is called a Disappearing Nine-Patch. I started with 9 equal squares and adhered them to a white piece of card stock measuring 3 3/4". I cut the design in half and the resulting two pieces in half. I arranged the pieces into a pleasing design and adhered the pieces onto another 3 3/4" white card stock. Then, I created two frames, one at 4" and the other at 4 1/4", and stacked them. I adhered the stack to the large card base and stamped the sentiment at the top.

All of the paper is from Stampin' Up!.

I'm sharing this with:

Challenge #419 - Any Occasion 


A Christmas Card

This card is similar to the ones I made for my father-in-law this year. This one is different, because the stamp that I used at the bottom didn't turn out well, so I cut it off and placed another piece of Stampin' Up! card stock in its place.

Inside is a sentiment that reads "Wishing you a joyous Christmas and many blessings in the new year." For my father-in-law's cards, I used the computer to generate a sentiment that he wished for me to say.

I'm sharing this with:

Challenge #419 - Any Occasion  


Thursday, November 25, 2021

The Joys of the Season

This gate-fold card is different in that the two sides meet in the back, and a slender panel shows in the front. There is also a panel off to each side. All of the papers are by Stampin' Up! The sentiment is on the back.


I'm sharing this with:

Inspired By IB197 Color Challenge  

I'm inspired by the photo with the greens and red in the centerpiece.


Joyous Christmas

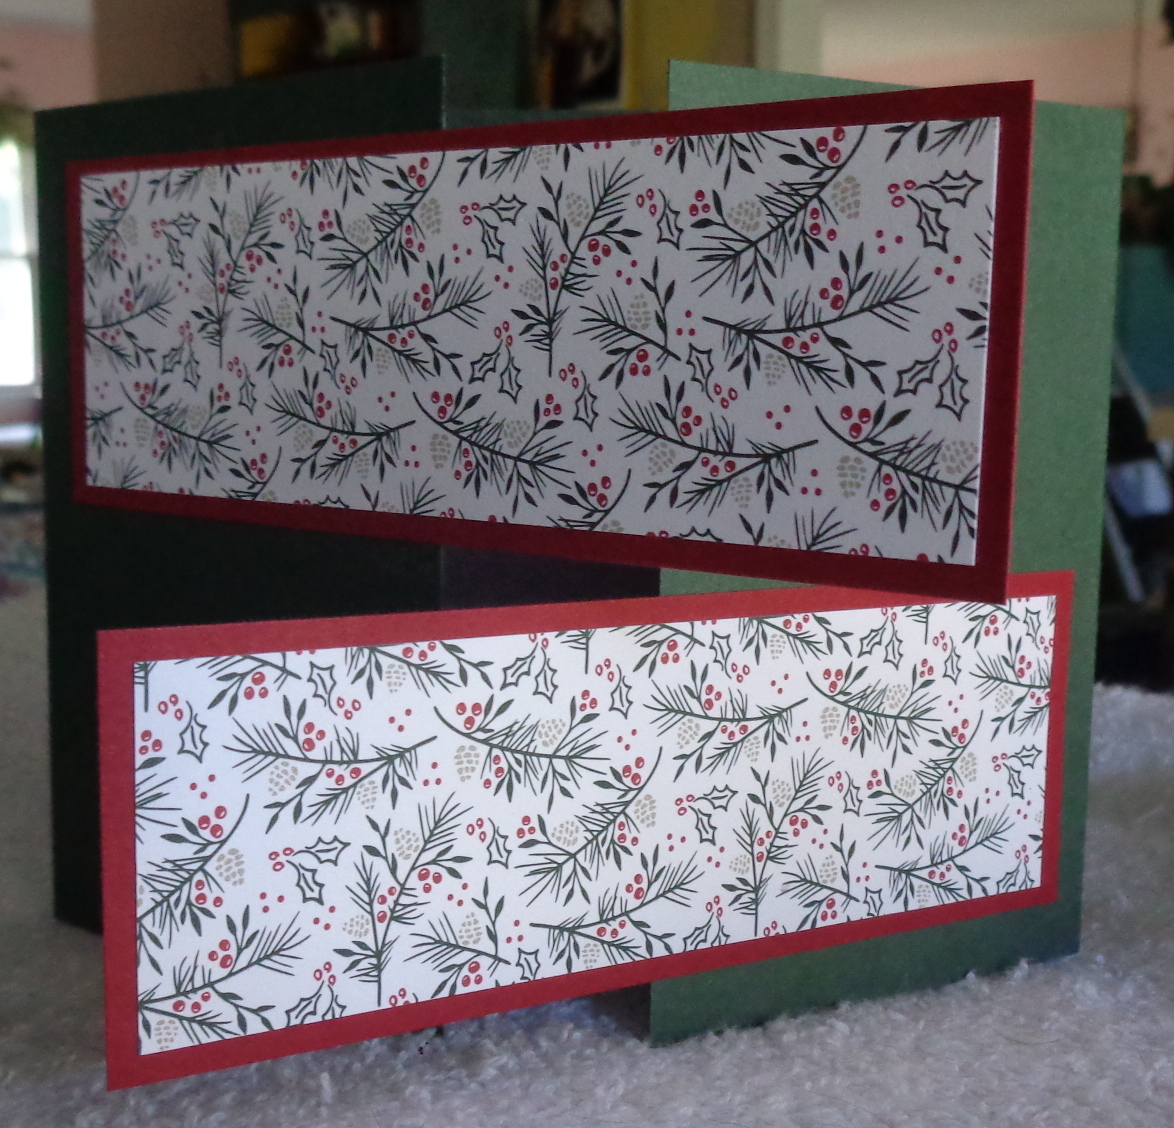
 This is a fun-fold card. The green on the back of the card extends around to the front where it is decorated with a green, red, white and taupe Stampin' Up! designer paper. The white portion covers the back of the card, and there is a red-framed sentiment that is positioned in the center on the front of the card.


I'm sharing this with:
Inspired By IB197 Color Challenge 

I was inspired by the greens and reds of the centerpiece and the taupe of the table and place mats. 

Season's Greetings

To quilters, this block is called the Disappearing 9-Patch. I have altered mine slightly to fit to the size of this A2 card by slicing off a bit from each side. To start, there must be 9 1-inch squares. Those are adhered to a 3-inch square of white card stock. Then, that square is cut into 4 equal squares of 1 1/2" each. Those are turned in such a way to create the design and adhered to another 3" square. That was adhered to a green square and then a red square as frames. And, all of that was adhered to the green card base. All of the papers are from Stampin' Up!. The sentiment was stamped at the bottom to complete the card.

I'm sharing this card with:

Inspired By IB197 Color Challenge 

I was inspired by the greens and reds (the flower arrangement), and the taupes (the table). 


***Update*** I got honorable mention in this challenge. Here's what the Inspired by... team wrote:

"The honorable mention, chosen by a DT member, of the IB197 challenge is this beautiful disappearing 9-patch quilted block card from Fonda.  We love all the colors she was able to pull from the photo and incorporating them into a 9-patch card is so beautiful.  What a great design to use lots of color and even scraps, so inspiring!"

Let it Snow

This card involved using scraps of Stampin' Up! paper from making other cards. I began by using an embossing folder to make the circle-filled background. 

I'm sharing this with:

Freshly Made Sketches

 
Inspired by...

I was inspired by the different colors of green, the brown of the table and the red, and the sketch.


Wednesday, November 24, 2021

Happy Holidays

This fun-fold card is a variation on the gate fold. I used Stampin' Up! papers for this card.

The sentiment is attached to the left side and is centered when the card is closed.

I'm sharing this with:

Simon Says Stamp: https://fresh.inlinkz.com/party/ad630c609bf9482fbe06b4c1424b41c8 

The Joys of the Season

This fold requires two flaps where one folds from the left, and the other folds from the right. The sentiment is inside on a white panel which also allows for a personal message.

All of the paper is Stampin' Up!.


I made two different ones.

I'm sharing this with:

Simon Says Stamp: https://fresh.inlinkz.com/party/ad630c609bf9482fbe06b4c1424b41c8